

Hoverboard Storage Tips: Complete Guide for UK Riders 2026
Store your hoverboard at 40-60% battery level in a cool, dry location between 10-25°C to maximise battery lifespan and maintain optimal performance.
Proper hoverboard storage is one of the most overlooked aspects of ownership, yet it directly impacts your board's performance, battery health, and longevity. Whether you're putting your hoverboard away for the winter months or simply storing it between weekend rides, following the right storage practices can mean the difference between a board that lasts several years and one that fails prematurely.
This comprehensive guide covers everything UK hoverboard owners need to know about storing their self-balancing scooters correctly. We'll examine optimal battery charge levels, temperature considerations, environmental factors, and practical storage solutions specifically tailored to the British climate. Whether you own a standard 6.5-inch model, an off-road hoverboard, or a hoverkart conversion, these storage principles apply universally.
Many hoverboard owners in the UK unknowingly damage their batteries through improper storage practices. Cold winters, damp conditions, and irregular charging schedules all take their toll. By implementing the storage techniques outlined in this guide, you can protect your investment and ensure your hoverboard is ready to ride whenever you want it. Let's dive into the essential storage tips that every UK hoverboard owner should know.
Understanding Your Hoverboard Battery
The lithium-ion battery pack inside your hoverboard is the heart of the device, and it requires specific conditions to maintain optimal health. Most hoverboards sold in the UK contain 36V lithium-ion battery packs consisting of multiple individual cells connected in series. These batteries are designed to provide reliable power for distances between 15-25 kilometres on a single charge, depending on model and rider weight.
Understanding how lithium-ion batteries age is crucial for proper storage. Every battery Has a finite number of charge cycles, typically between 500-1000 full cycles before capacity noticeably degrades. However, improper storage can accelerate this degradation significantly. Factors that speed up battery aging include extreme temperatures, high charge levels during storage, prolonged discharge states, and exposure to moisture.
UK hoverboard owners face unique challenges due to the country's climate. Temperatures can drop below freezing in winter, especially in Scotland and northern England, while summer humidity combined with poor ventilation creates moisture problems. Both extremes require specific handling to protect your hoverboard's battery. The good news is that with proper storage practices, you can easily get 3-5 years of reliable service from your hoverboard battery.
Important: Never store your hoverboard in a vehicle overnight. Cars can experience extreme temperature fluctuations, reaching well below freezing in winter and becoming dangerously hot in summer direct sunlight.
Optimal Charge Levels for Storage
One of the most critical aspects of hoverboard storage is maintaining the correct battery charge level. The general rule is to store your hoverboard at 40-60% state of charge, which provides enough energy to keep the battery cells balanced without putting excess stress on them.
Storing a hoverboard at 100% charge for extended periods accelerates electrochemical reactions within the lithium cells, causing them to degrade faster. Conversely, storing at very low charge levels (below 20%) can cause the battery to fall into a deep discharge state, potentially rendering it unable to hold a charge permanently. Both scenarios significantly reduce your battery's effective lifespan.
Before storing your hoverboard for any period exceeding two weeks, follow these steps to prepare it properly. First, take your hoverboard for a short ride to reduce the charge level to approximately 50%. This typically means riding until the battery indicator shows two to three bars remaining on a four-bar system. Alternatively, use a battery monitor or multimeter to check the voltage, aiming for approximately 3.6-3.8 volts per cell.
Once you've reached the optimal charge level, disconnect the charger and store the hoverboard. Avoid the common mistake of keeping the hoverboard plugged in continuously while in storage, as this keeps the battery at high charge levels and generates heat, both of which accelerate degradation. Some owners even remove the battery entirely for long-term storage, though this requires technical knowledge and may void warranties.
Temperature and Environmental Considerations
The environment where you store your hoverboard has a profound impact on its longevity. Lithium-ion batteries perform optimally and degrade slowest in moderate temperatures, ideally between 10-25°C. This temperature range represents the sweet spot for chemical stability within the battery cells.
UK storage environments present specific challenges throughout the year. In winter, unheated garages, sheds, and outdoor storage units can drop below freezing, especially in rural areas and higher altitudes. Freezing temperatures can cause permanent damage to lithium cells, reducing capacity or causing immediate failure. Summer temperatures, while rarely extreme in the UK, can still elevate storage temperatures above optimal levels, particularly in south-facing garages or conservatories.
Humidity is another critical factor that UK owners must consider. The British climate is notoriously damp, with relative humidity often exceeding 70% outside and potentially higher in poorly ventilated storage spaces. Moisture can infiltrate the hoverboard's housing, causing corrosion on electrical contacts, the battery casing, and internal components. This corrosion compromises both safety and performance over time.
The ideal storage location is a climate-controlled indoor space such as a spare bedroom, loft with proper insulation, or a heated garage. If indoor storage isn't possible, choose the driest, most temperature-stable available space and consider additional protection such as desiccant packets or a sealed storage container. Avoid basement storage unless you can guarantee adequate ventilation and dehumidification.
Storage Tip: Place silica gel desiccant packets inside your hoverboard's storage bag or container to absorb excess moisture, especially during damp British winters.
Long-Term vs Short-Term Storage
Different storage durations require different approaches. Understanding these differences helps you maintain your hoverboard optimally regardless of how long it will be unused.
Short-Term Storage (2-8 Weeks)
For short-term storage between uses, basic precautions suffice. Ensure the hoverboard is at 40-60% charge, store in a dry location at room temperature, and place it on a stable surface where it won't be knocked over. Even within this shorter timeframe, checking the charge level every two weeks is advisable to ensure it hasn't dropped below 20%.
If you plan to use your hoverboard weekly or more frequently, partial charging before each use is acceptable. However, avoid the temptation to top up to 100% after every short ride, as this constant high-level charging accelerates wear. Instead, adopt the practice of charging to only 80% for regular use and saving full charges for longer journeys.
Medium-Term Storage (2-6 Months)
Storage extending beyond two months requires more careful attention. Charge level maintenance becomes more critical, as batteries slowly self-discharge even when not in use. Plan to check charge levels every 4-6 weeks and recharge to 50% if levels drop below 30%.
At this duration, consider physically inspecting the hoverboard during charge checks. Look for signs of damage to the housing, charging port, or cables. Check that the Charging port is clean and dry, as debris and moisture can cause charging problems. Examine the battery indicator lights for any unusual blinking patterns that might indicate problems.
Long-Term Storage (6+ Months)
Preparing hoverboards for extended storage requires the most comprehensive approach. Beyond the standard charge level and environmental preparation, consider additional protective measures to ensure your hoverboard remains in optimal condition.
For the best long-term storage results, remove the battery from the hoverboard if your model allows this and store it separately at 40-60% charge in a cool, dry location. This approach reduces drain from the board's electronics and provides better temperature control. However, this requires technical competence and may affect warranty coverage.
If battery removal isn't feasible, invest in a quality storage cover or bag that provides protection from dust, light, and minor impacts. Add desiccant packets to absorb moisture, and place the covered hoverboard on elevated shelving to protect against potential flooding. Create a calendar reminder to check the hoverboard every 4-6 weeks, even if you don't plan to use it during this period.
Winter Storage UK: If storing in a garage or shed over winter, consider moving the hoverboard indoors during the coldest months (December-February) to protect against freezing temperatures.
Storing Different Hoverboard Types
While core storage principles apply universally, different hoverboard types have specific considerations worth addressing for optimal preservation.
Standard 6.5-Inch Hoverboards
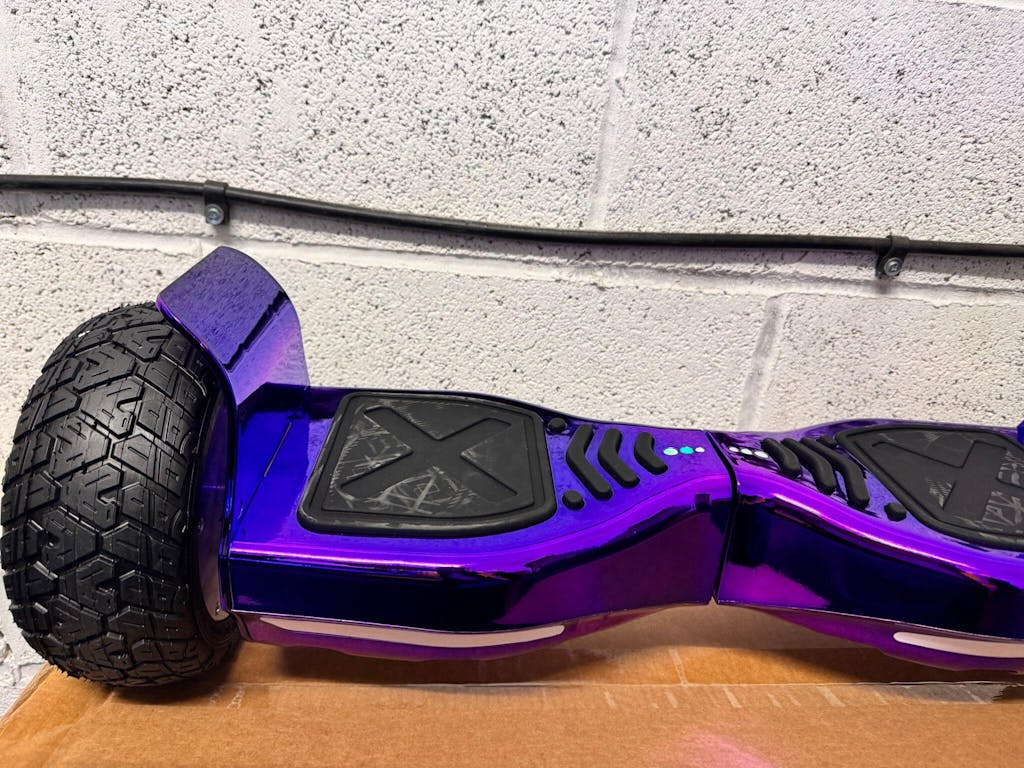
The most common hoverboard size in the UK, these compact models are relatively easy to store due to their smaller footprint. Store them upright on their wheels or suspended horizontally using a wall mount. Their smaller battery capacity (typically 36V 4Ah) means more frequent charge level checks during long-term storage, as smaller batteries self-discharge slightly faster than larger packs.
Off-Road Hoverboards
Larger 8-inch and 10-inch off-road hoverboards typically contain larger battery packs for extended range. These bigger batteries actually benefit from storage due to their lower self-discharge rate relative to capacity. However, their increased weight makes proper mounting or positioning more important for safety. Store these models on flat surfaces only, as their height makes them more likely to tip over if stored incorrectly.
Hoverkart Storage
If you've converted your hoverboard into a hoverkart, storage becomes more complex due to the additional components. Disassemble the hoverkart conversion kit and store the hoverboard separately using standard guidelines. Store the seat, steering column, and other kit components in a dry location, preferably in original packaging if available. Keep all mounting hardware together in a labelled bag to simplify reassembly.
Practical Storage Solutions
Finding the right storage solution depends on your available space, frequency of use, and aesthetic preferences. Here are practical options for UK hoverboard owners.
Wall-Mounted Storage
Wall mounts represent one of the most space-efficient solutions, particularly valuable in smaller UK properties. Install heavy-duty hooks or dedicated hoverboard mounts in a garage, utility room, or closet. This keeps the hoverboard off the floor, protecting it from accidental kicks, water damage from flooding, and floor-level damp. Wall mounting also makes it easy to check the hoverboard regularly and encourages.display rather than hiding it away.
Storage Bags and Cases
Quality storage bags provide protection from dust, light, and minor impacts while making transportation easier. Soft carry bags work well for short-term storage and travel, while harder cases offer superior protection for long-term storage or frequent transport. Look for bags with padded interiors and sturdy zippers. Some owners use multiple bags - a daily carry bag for active use and a better quality case for stored boards.
Dedicated Storage Cabinets
For serious collectors or households with multiple hoverboards, dedicated storage cabinets provide optimal protection. Choose cabinets with adjustable shelving, ventilation to prevent moisture buildup, and locking capability for security. Some owners convert IKEA Kallax units or similar shelving systems into dedicated hoverboard storage solutions, adding dividers and doors for customisation.
Apartments & Flat Living: If storage space is severely limited, consider hanging your hoverboard on a coat hook in a closet, or storing it under a bed in a storage bag. Just ensure the space is dry and climate-stable.
Maintenance During Storage
Storing your hoverboard doesn't mean ignoring it completely. Regular maintenance checks during storage periods help identify problems early and ensure your board is ready when you need it.
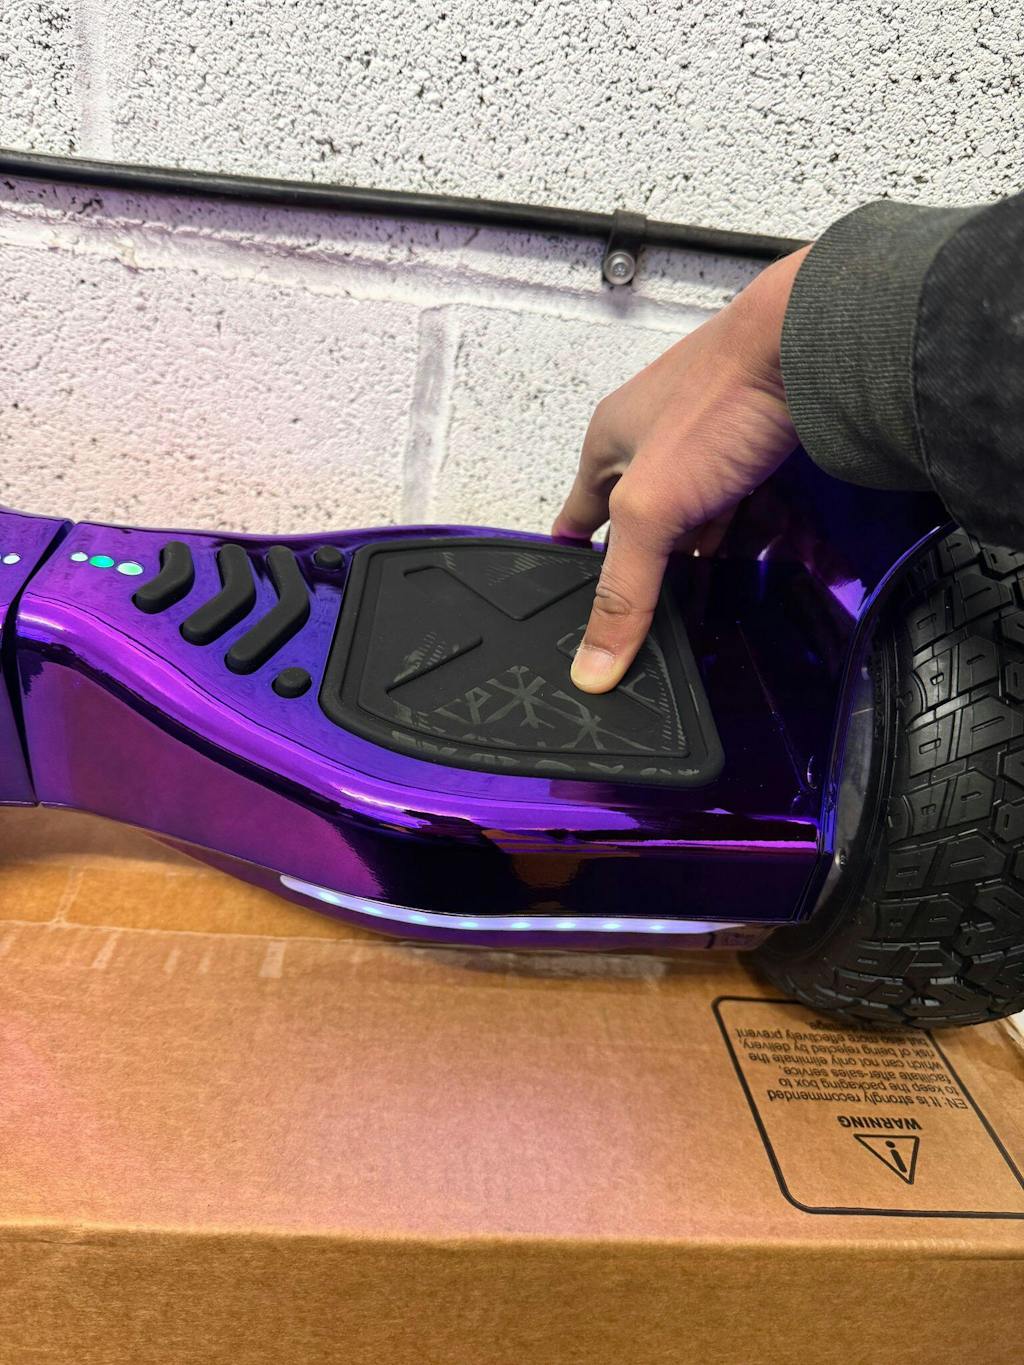
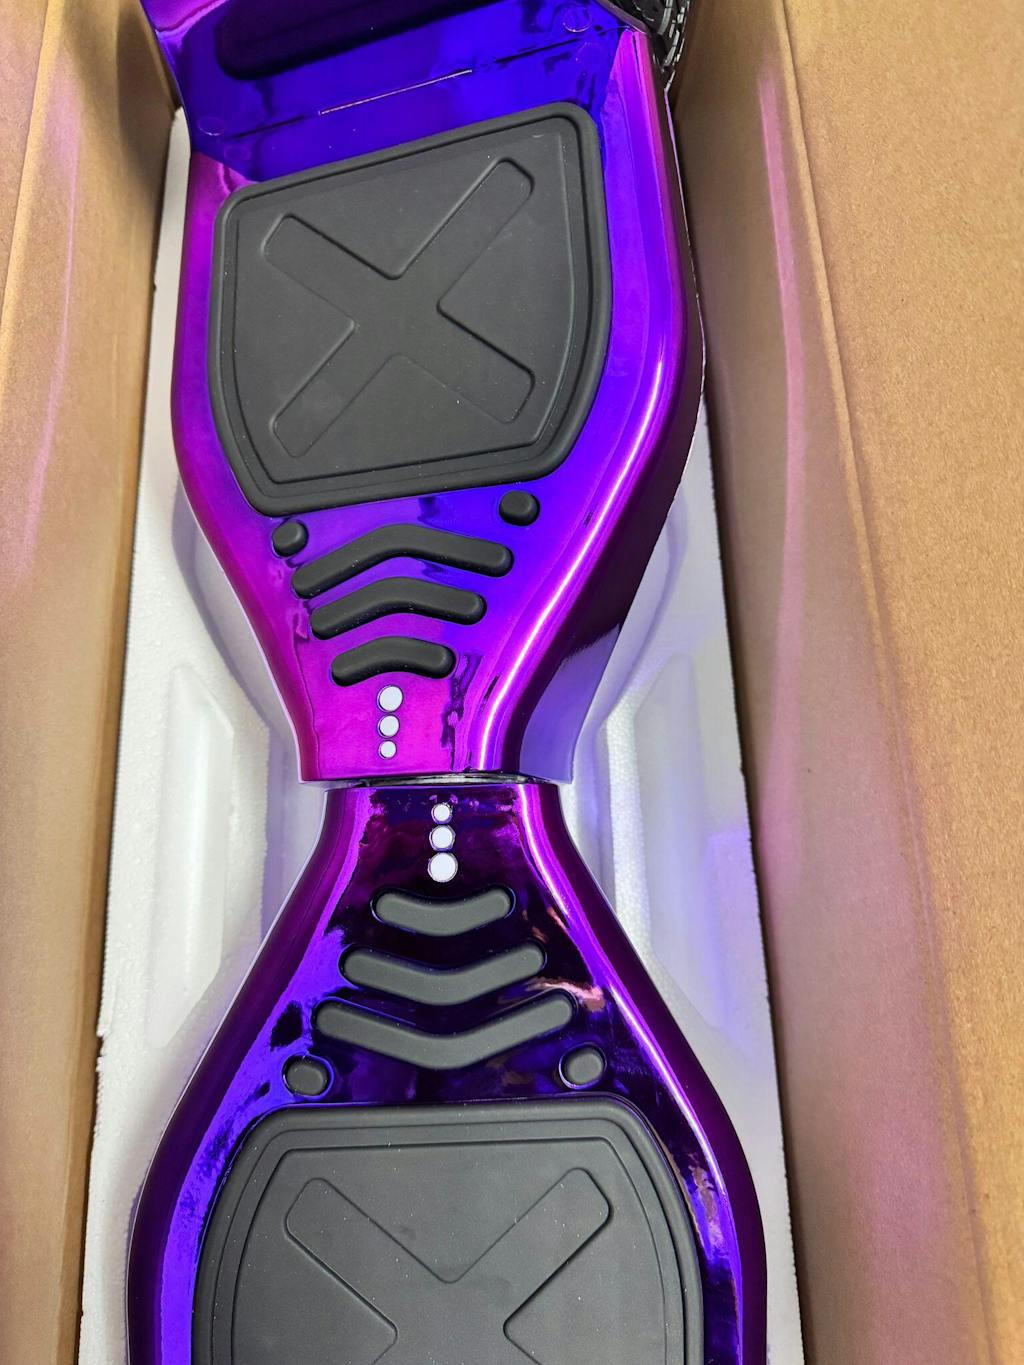
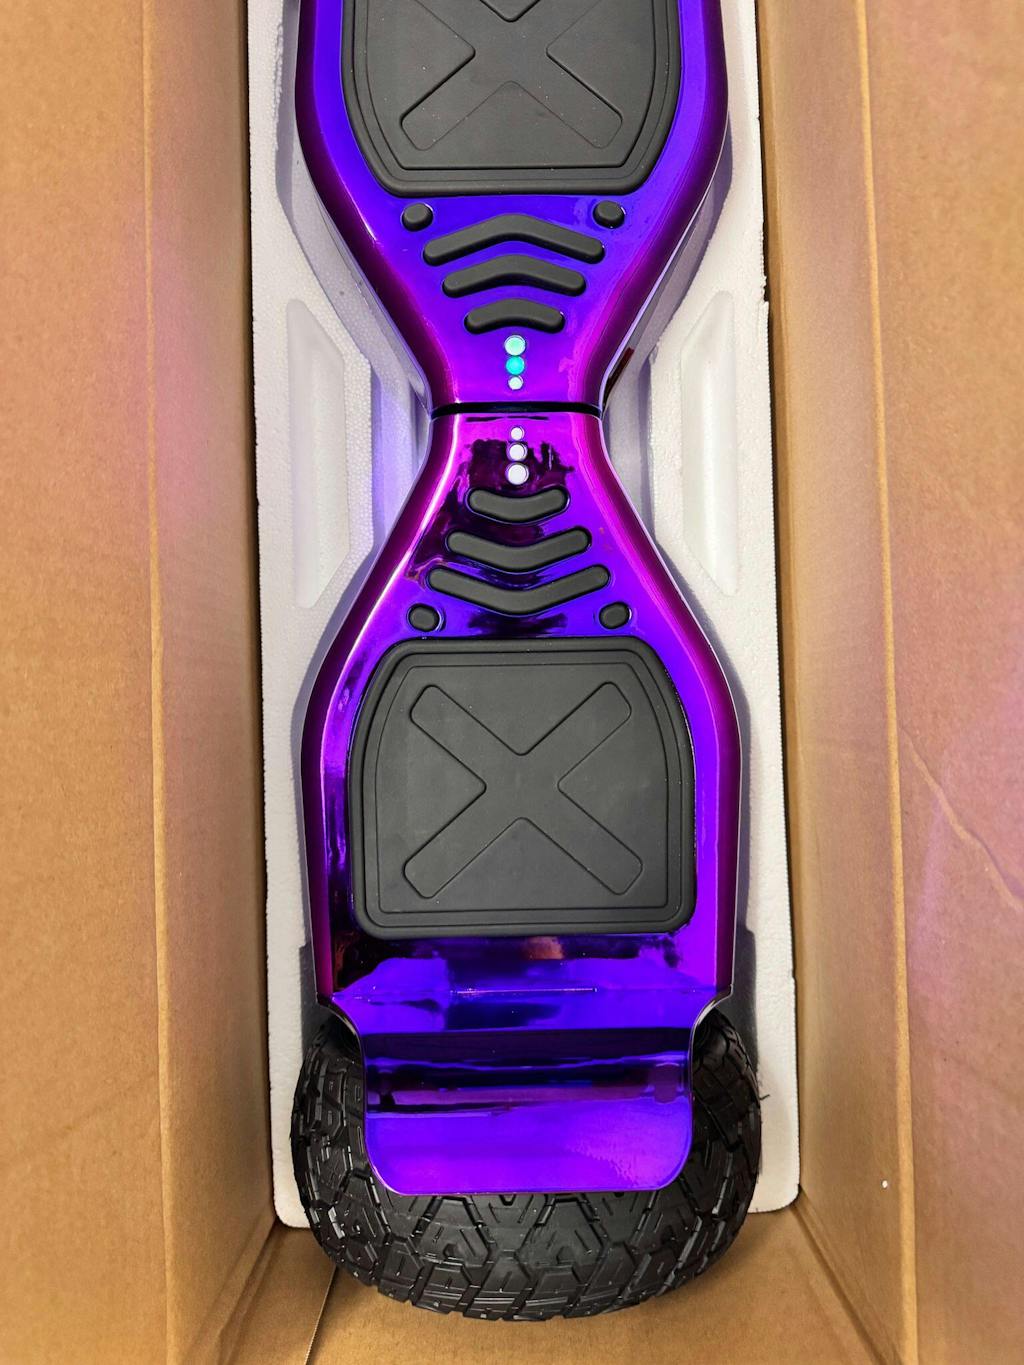
Every 4-6 weeks, remove your hoverboard from storage and perform a basic inspection. Check the charge level and recharge if necessary. Examine the housing for any cracks, loose parts, or signs of pest damage. Check that the charging port is clean and free of debris. Test the power button to ensure the board powers on normally and that the indicator lights function correctly.
Every 2-3 months during extended storage, consider taking your hoverboard for a short functional ride. This serves multiple purposes: it helps calibrate the battery management system, distributes lubricant within the motor assemblies, and allows you to verify everything is working properly. A 10-15 minute ride around your property is sufficient for this maintenance exercise.
Keep cleaning materials accessible for your stored hoverboard. Dust and debris can accumulate during storage, particularly on wheels and sensors. Use a slightly damp cloth for the housing and a dry cloth for electronic components. Avoid using excessive cleaning solutions that might introduce moisture into sensitive areas. Check wheel pressures if your model has pneumatic tires and inflate as needed before returning to active use.
Preparing Your Hoverboard for Return to Use
After any period of storage, proper preparation before first use ensures safety and optimal performance. Follow these steps to ready your hoverboard for action.
Begin with a thorough visual inspection. Check the entire housing for cracks or damage that may have occurred during storage. Examine all cables and connections, particularly where they enter the main housing. Inspect the wheels for any flat spots if pneumatic tires were used, and check for debris wound around the wheel axles or in the wheel wells.
Perform a complete charge cycle before your first ride. Connect the charger and allow the hoverboard to charge fully to 100%. This initial full charge calibrates the battery management system and ensures the cells are balanced. While charging, stay nearby and monitor for unusual heat, sounds, or indicator light behaviour. A properly functioning hoverboard should charge quietly and without excessive heat generation.
Test your hoverboard in a safe, controlled environment before taking it on public paths or streets. Stand on the hoverboard in a stationary position to verify balance sensors work correctly. Then take a slow, gentle ride to test acceleration, braking, and turning response. Pay attention to any unusual sounds, vibrations, or handling characteristics that might indicate problems requiring attention.
Safety First: Always wear appropriate protective gear when returning your hoverboard to active use, especially if you haven't ridden for an extended period. Consider a helmet, wrist guards, and knee/elbow pads.
Common Storage Mistakes to Avoid
Learning from other's mistakes helps you avoid the most common problems that reduce hoverboard lifespan and performance.
Mistake 1: Storing at Full Charge - One of the most damaging practices is leaving your hoverboard at 100% charge for extended periods. This accelerates chemical reactions within lithium cells and causes faster capacity degradation. Always discharge to 40-60% before storage.
Mistake 2: Ignoring Temperature - Storing in unheated garages or outdoor sheds exposes your hoverboard to temperature extremes that damage batteries and electronics. Indoor climate-controlled storage dramatically extends component life.
Mistake 3: Neglecting Charge During Long-Term Storage - Lithium batteries slowly self-discharge even when not in use. Allowing a hoverboard to reach deep discharge (below 20%) during storage can permanently damage the battery. Regular charge checks are essential.
Mistake 4: Poor Moisture Protection - The British climate is damp, and moisture is one of the biggest enemies of electronic components. Use desiccant packets, storage bags, and choose dry locations to protect your investment.
Mistake 5: Improper Positioning - Storing a hoverboard on its side or in an unstable position risks physical damage and potentially strains components. Store upright on wheels or suspended horizontally at a safe height.
✅ Best Practices Summary
- Store at 40-60% charge level
- Keep in climate-controlled environment (10-25°C)
- Check charge every 4-6 weeks
- Use desiccant for moisture protection
- Perform maintenance rides every 2-3 months
- Inspect before returning to use
❌ Common Mistakes
- Leaving at 100% charge for storage
- Storing in freezing garages
- Ignoring self-discharge over months
- Using damp storage areas
- Storing on unstable surfaces
- Forgetting about it entirely


