

Hoverkart Setup Guide for Beginners: Complete UK Guide 2026
Quick Answer: Setting up a hoverkart takes around 15–20 minutes. Check the frame, attach your hoverboard securely, fit the seat and straps, adjust the steering handles, and do a safety test before riding.
You've unboxed your hoverkart and you're ready to turn your hoverboard into a seated ride-on. That feeling is brilliant — but getting the setup right matters. A hoverkart that isn't assembled correctly can be uncomfortable to steer, unsafe to ride, or cause damage to your hoverboard.
This hoverkart setup guide walks you through every step from opening the box to your first safe test ride. No assumptions. Just clear, practical instructions to help you set up with confidence.
What You Need Before You Start
Gather everything from the box and lay it out on a flat, clean surface. Check you have all the parts listed in the instruction manual — usually this includes the main frame, seat, steering column, left and right steering handles, clamps, bolts, washers, and a tool (usually an Allen key or spanner).
Important Note: Keep the instruction manual to hand throughout setup. Hoverkart designs vary between manufacturers and models. Always follow the manual that came with your specific hoverkart first.
Step 1: Check the Frame and Components
Before attaching anything, inspect the frame carefully.
- Check the frame for any visible cracks, bends, or damage from shipping
- Make sure all pre-fitted bolts are tight
- Check that the steering column and steering mechanism move smoothly without catching
- Confirm all mounting holes are clean and free from debris
If anything looks damaged or missing, contact the retailer before proceeding. Do not attempt to ride a hoverkart with a damaged frame.
Step 2: Attach the Hoverboard
This is the most important part of the setup. Your hoverboard is what powers the hoverkart — it needs to be held firmly and correctly.
Positioning the Hoverboard
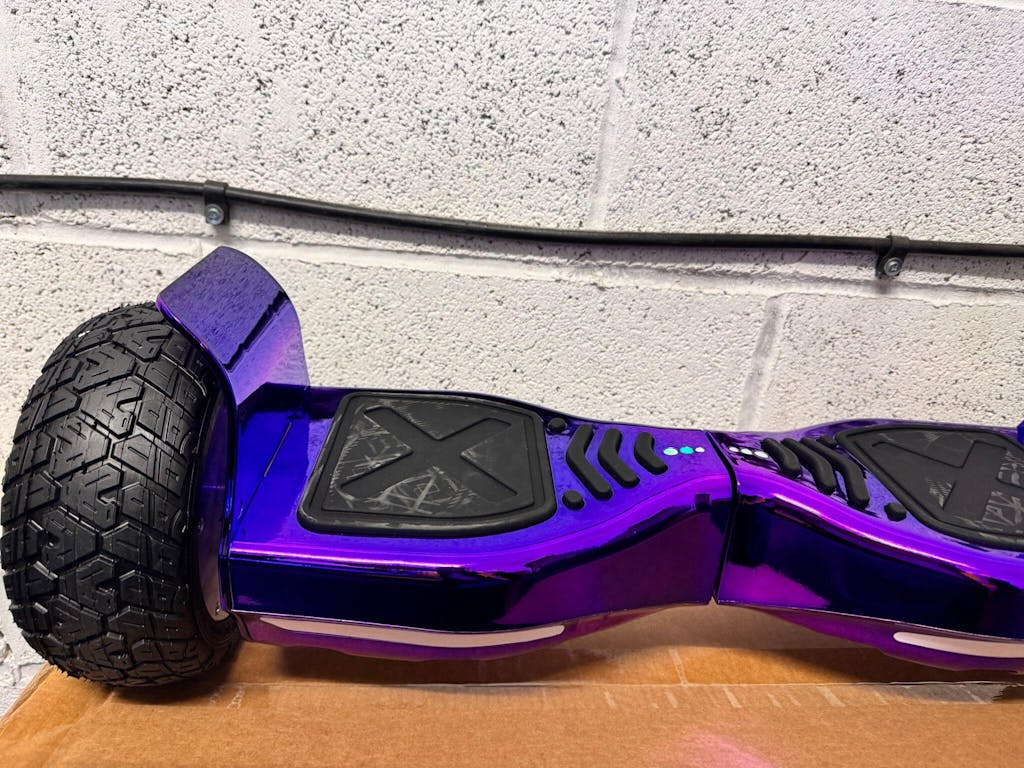
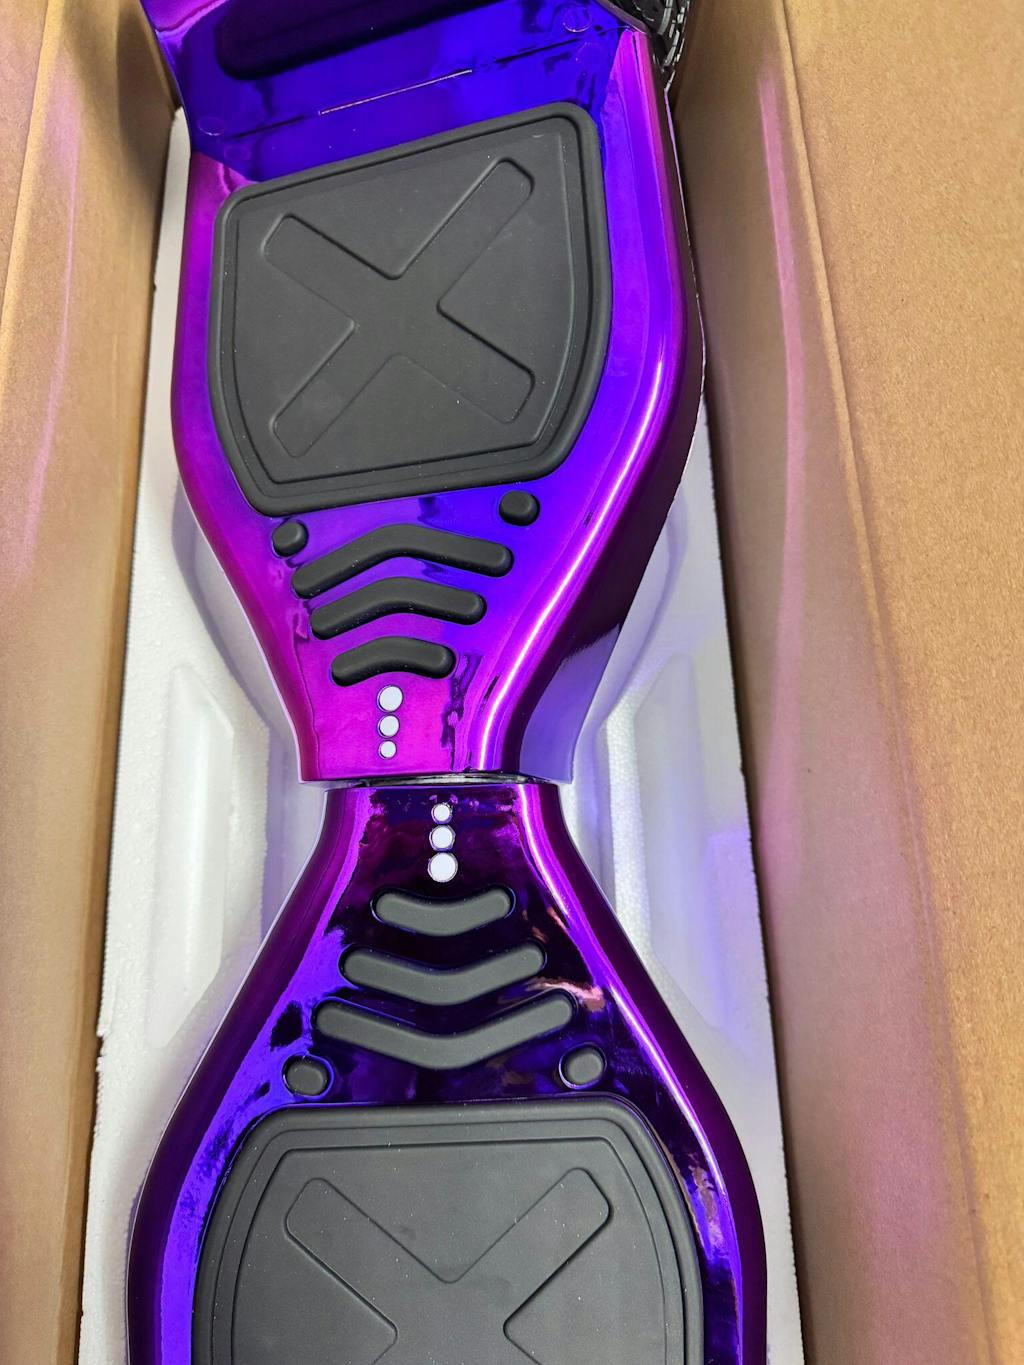
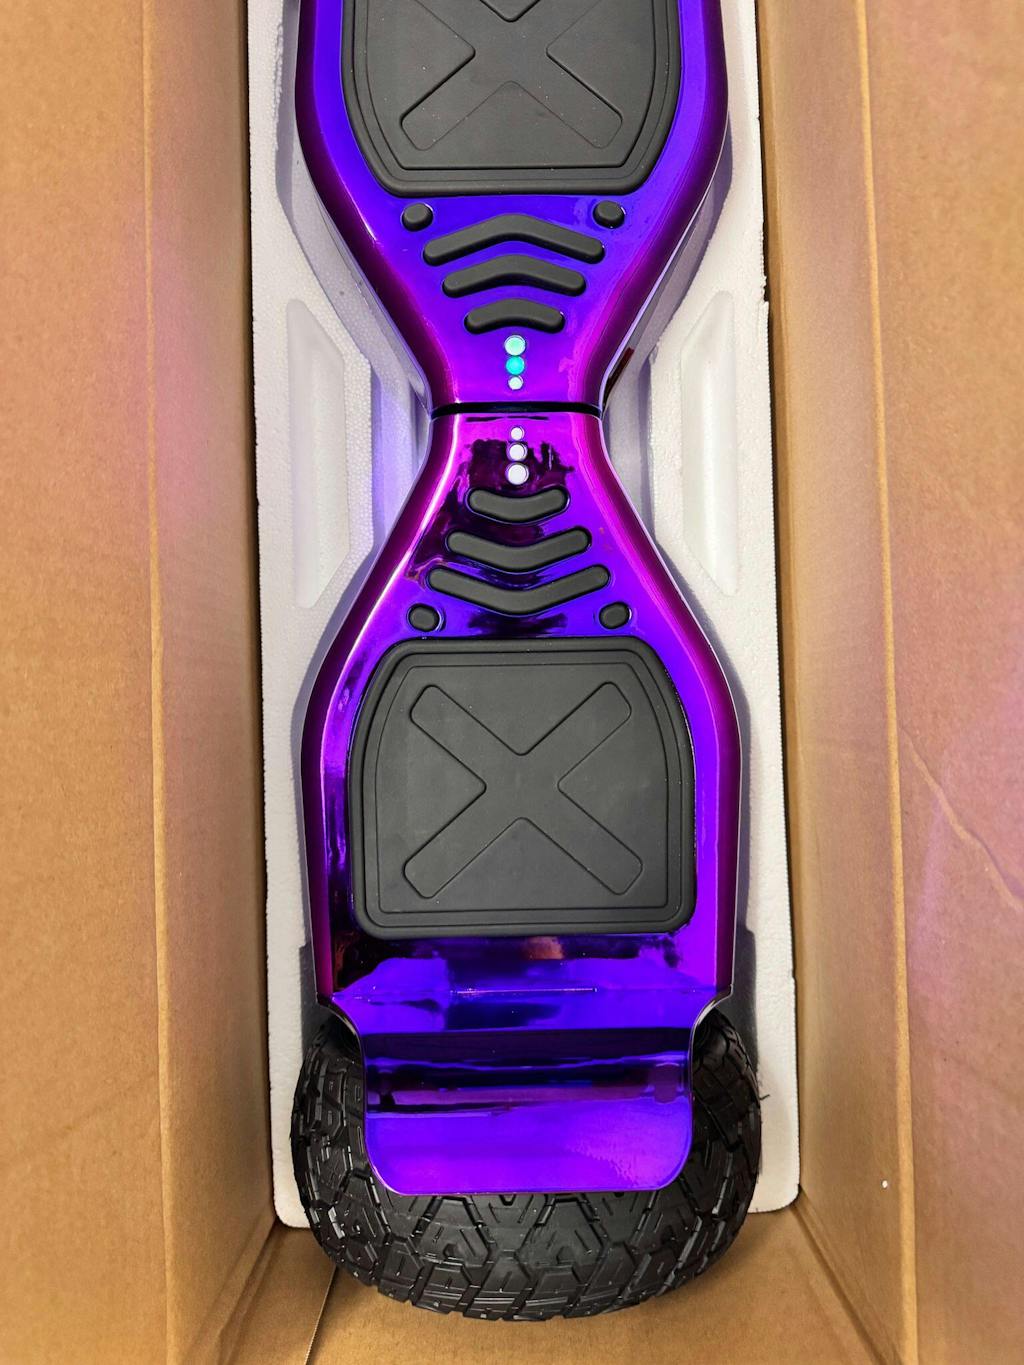
Most hoverkarts use a clamp-and-bolt system to hold the hoverboard in place. The hoverboard should sit with its wheel axis facing the front of the hoverkart. The connection ports on the hoverboard typically face upward.
Slide the hoverboard into the frame's board holder until it sits flush against the back stops. Some hoverkarts have left and right alignment markers — use these if present.
Securing with Clamps and Bolts
Once the hoverboard is positioned:
- Attach the front clamp over the hoverboard
- Insert the bolts through the clamp holes and into the frame
- Tighten evenly using the Allen key or spanner provided
- Give the board a gentle pull to confirm it does not move
Important Note: Do not over-tighten bolts. Over-tightening can strip the thread or damage the clamp. Tighten until firm and snug — if a bolt feels resistant, stop and check you are using the correct size.
Step 3: Fit the Seat
Slide the seat onto the seat post on the frame. Most seats slot onto a cylindrical post and are secured with a pin, bolt, or quick-release clamp. Make sure the seat is level and facing forward before securing it fully.
If your hoverkart has an adjustable seat (some allow forward/backward or height movement), set it so your feet can comfortably reach the floor while seated and your knees are slightly bent.
Step 4: Connect the Safety Straps
Most hoverkarts include lap straps or a harness to help keep the rider in the seat. These are not optional — they are a safety feature.
Thread the strap through or around the seat as shown in the manual. Buckle it securely. Before riding, pull hard on each strap to confirm the buckle holds.
Important Note: Adjust the strap so it sits across your lap, not across your stomach or chest. It should be snug but not uncomfortable. Check the strap condition regularly for wear or fraying.
Step 5: Adjust the Steering Handles
The steering handles connect to the hoverkart's steering mechanism and control left/right direction when you lean. Most hoverkarts have handles that slide or angle.
- Loosen the handle adjustment bolts (usually on the steering column)
- Set the handles to a comfortable height — roughly elbow height when seated
- Make sure both handles are set symmetrically
- Tighten the bolts firmly
- Test that the handles move freely left and right without stiffness or catching
Step 6: Connect to Your Hoverboard
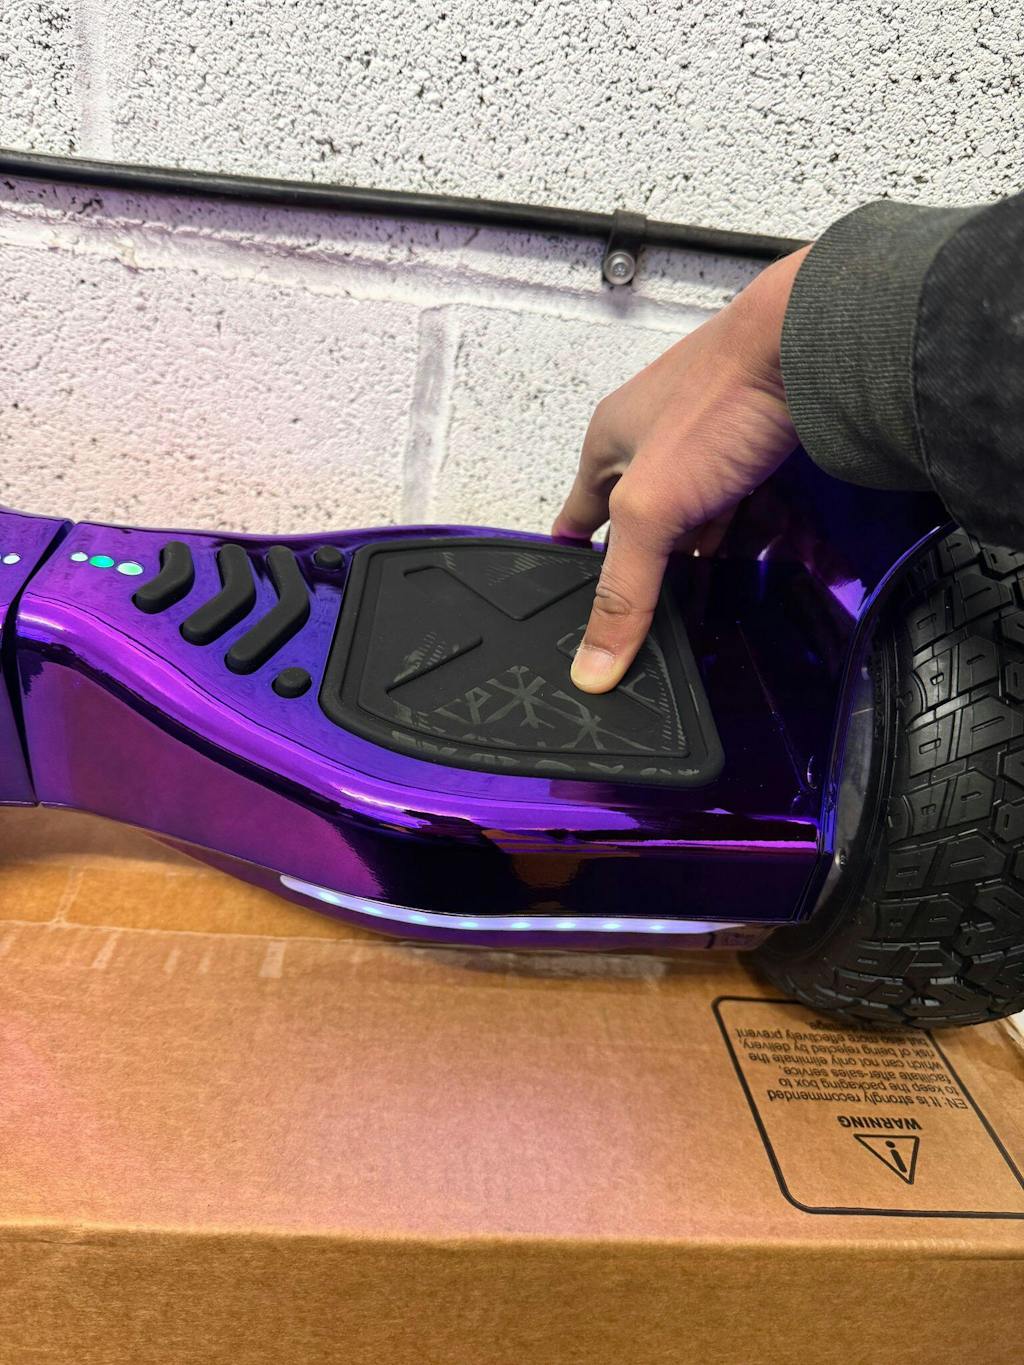
Plug the hoverkart's controller cable into your hoverboard. The connection port is usually on the side or front of the hoverboard and matches the cable from the hoverkart.
Push the cable in firmly until it clicks or seats properly. Loose connections can cause steering issues or cut out while riding.
Important Note: Make sure both the hoverboard and the hoverkart controller are switched off before connecting the cable. Never connect or disconnect the cable while either device is on.
Step 7: Perform a Static Safety Check
Before you sit on the hoverkart, do these checks from a standing position:
- Give the hoverboard a wiggle — it should not move in the clamps
- Pull on the seat — it should not shift on its post
- Test the steering handles through their full left and right range
- Check that the cable is fully inserted into the hoverboard port
- Confirm the safety strap is buckled and in good condition
Once everything checks out, switch on the hoverboard, then switch on the hoverkart controller. Some controllers have a simple power button; others activate automatically when the hoverboard is on.
Common Hoverkart Setup Questions
Related Guides
Ready to pick up a hoverkart for your hoverboard? Browse our full range of Hoverboard & Hoverkart Bundles.
Shop Hoverboard Bundles


