

Hoverboard Battery Replacement UK: Step-by-Step Guide & Best Batteries 2026
When to Replace Your Battery
Signs Your Battery Needs Replacement
Hoverboard batteries degrade over time. Signs of battery degradation include reduced range (can't travel as far on a full charge), longer charge times (takes longer to reach full charge), difficulty holding charge (battery drains quickly), and inability to reach full charge (battery won't charge past 80%).
If your hoverboard is 2-3 years old and showing these signs, battery replacement is likely needed. Most batteries degrade naturally after 500-1000 charge cycles, which typically equals 2-3 years of regular use.
Compatible Batteries by Model
| Hoverboard Model | Battery Type | Voltage | Capacity | Price |
|---|---|---|---|---|
| G1 Lite | 36V 2.5Ah | 36V | 2.5Ah | £40-£60 |
| G1 Pro | 36V 4.4Ah | 36V | 4.4Ah | £60-£90 |
| RX1 | 36V 4.4Ah | 36V | 4.4Ah | £60-£90 |
| RX2 | 36V 6Ah | 36V | 6Ah | £90-£120 |
Step-by-Step Battery Replacement
Tools Required
- Screwdriver set (Phillips and flat head)
- Wrench set (10mm, 12mm, 14mm)
- Plastic pry tool (to avoid damaging plastic)
- Small flashlight (to see inside hoverboard)
- Work gloves (for safety)
Safety Precautions
Before starting: Power off your hoverboard completely. Unplug the charger. Allow the hoverboard to cool for 30 minutes if it was recently used. Work in a well-ventilated area. Never work near open flames or sparks—lithium-ion batteries can be flammable if damaged.
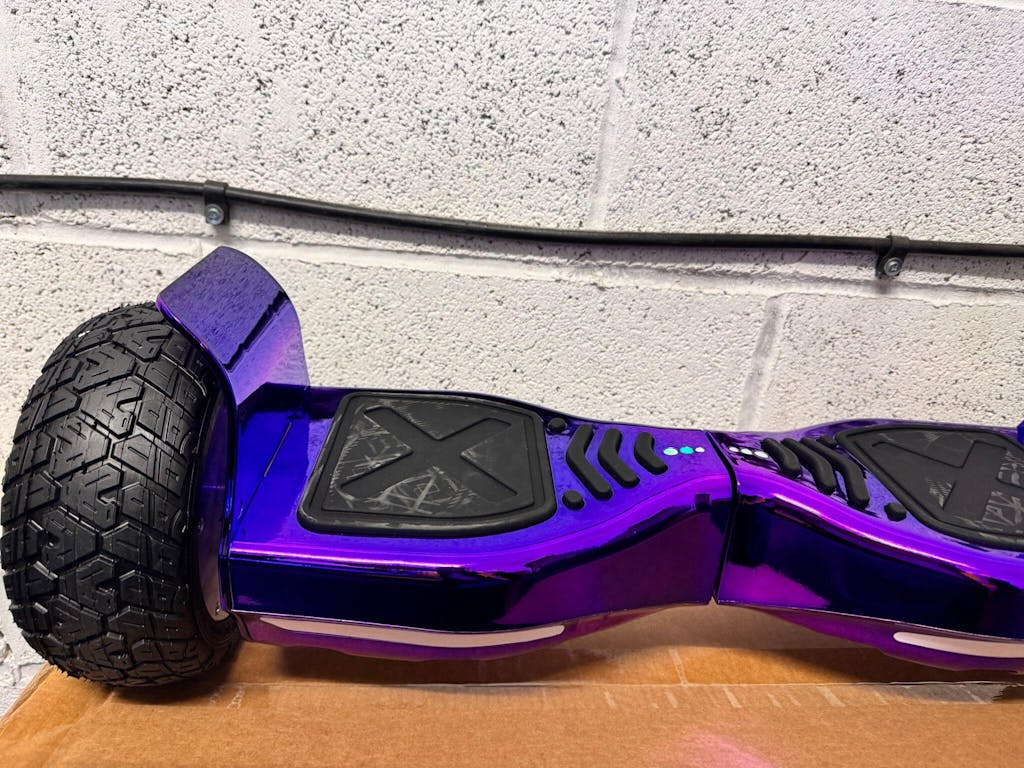
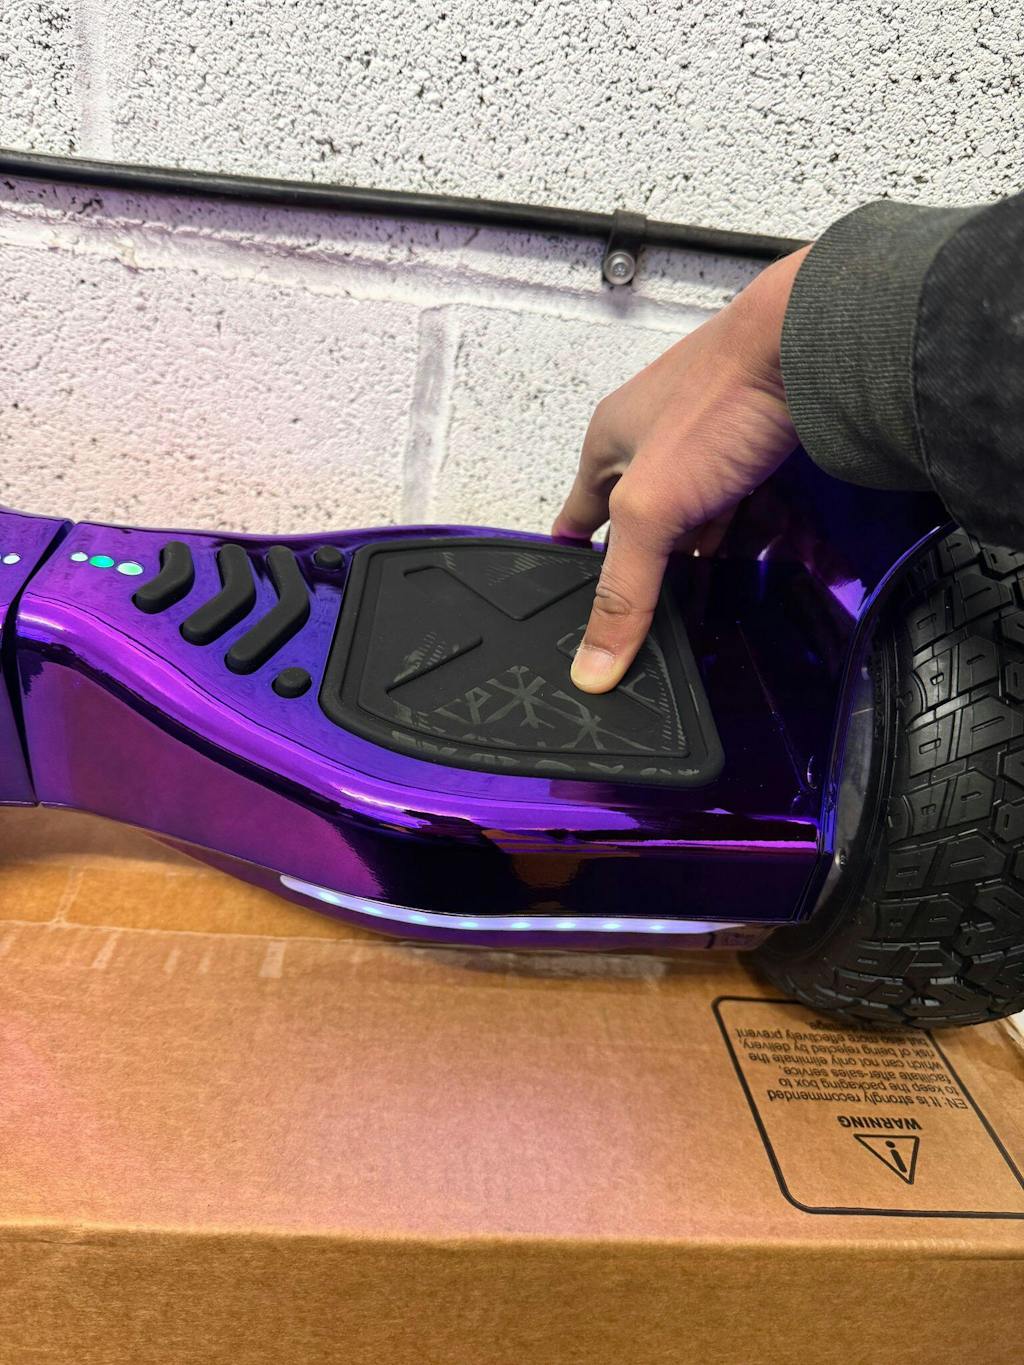
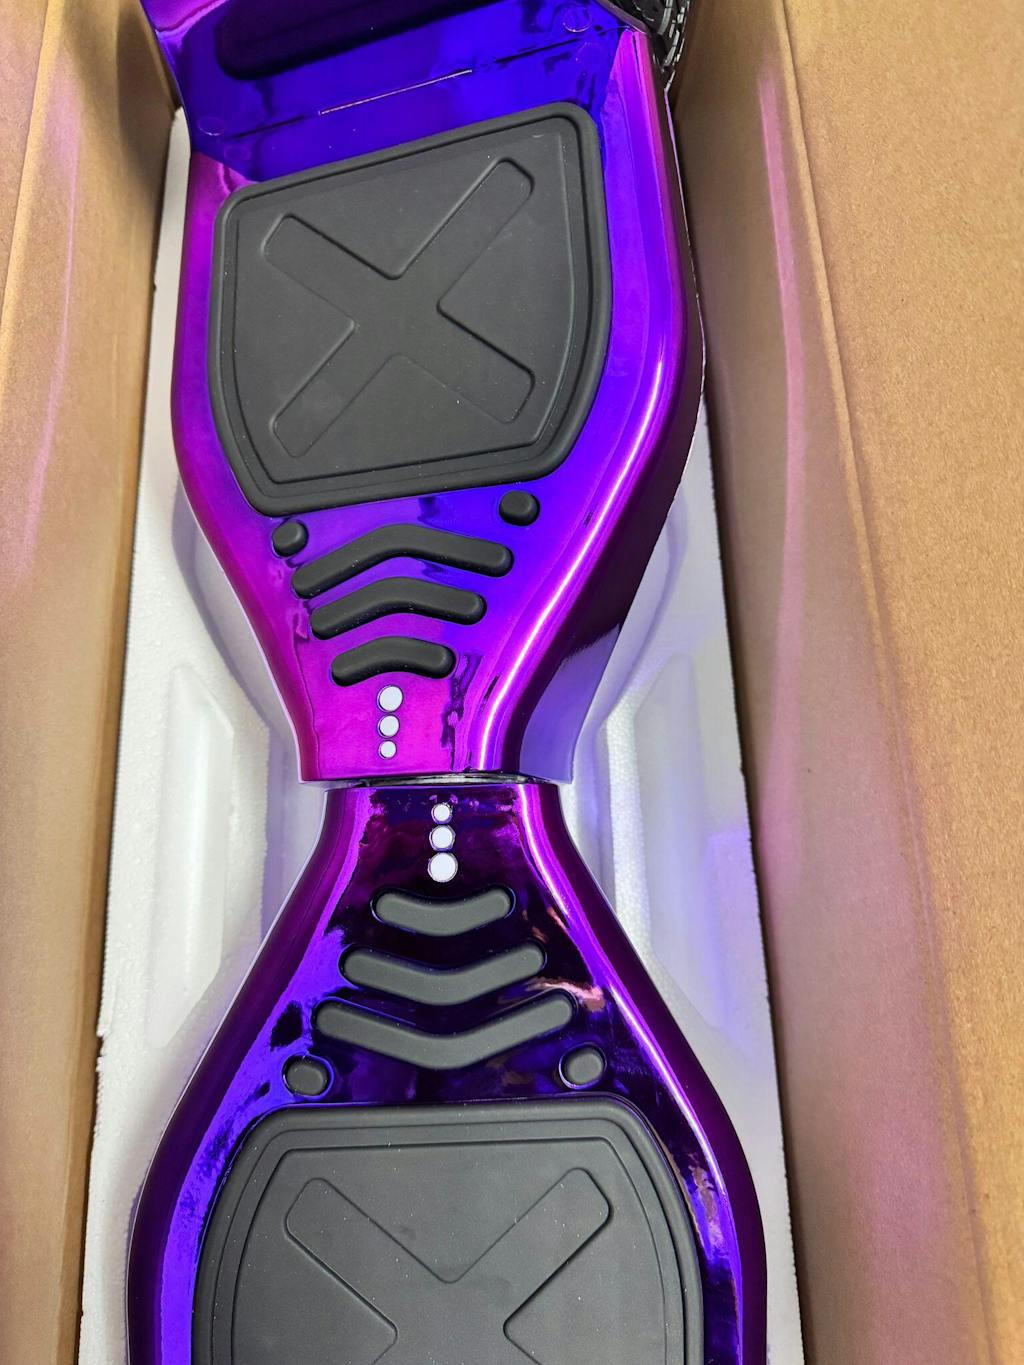
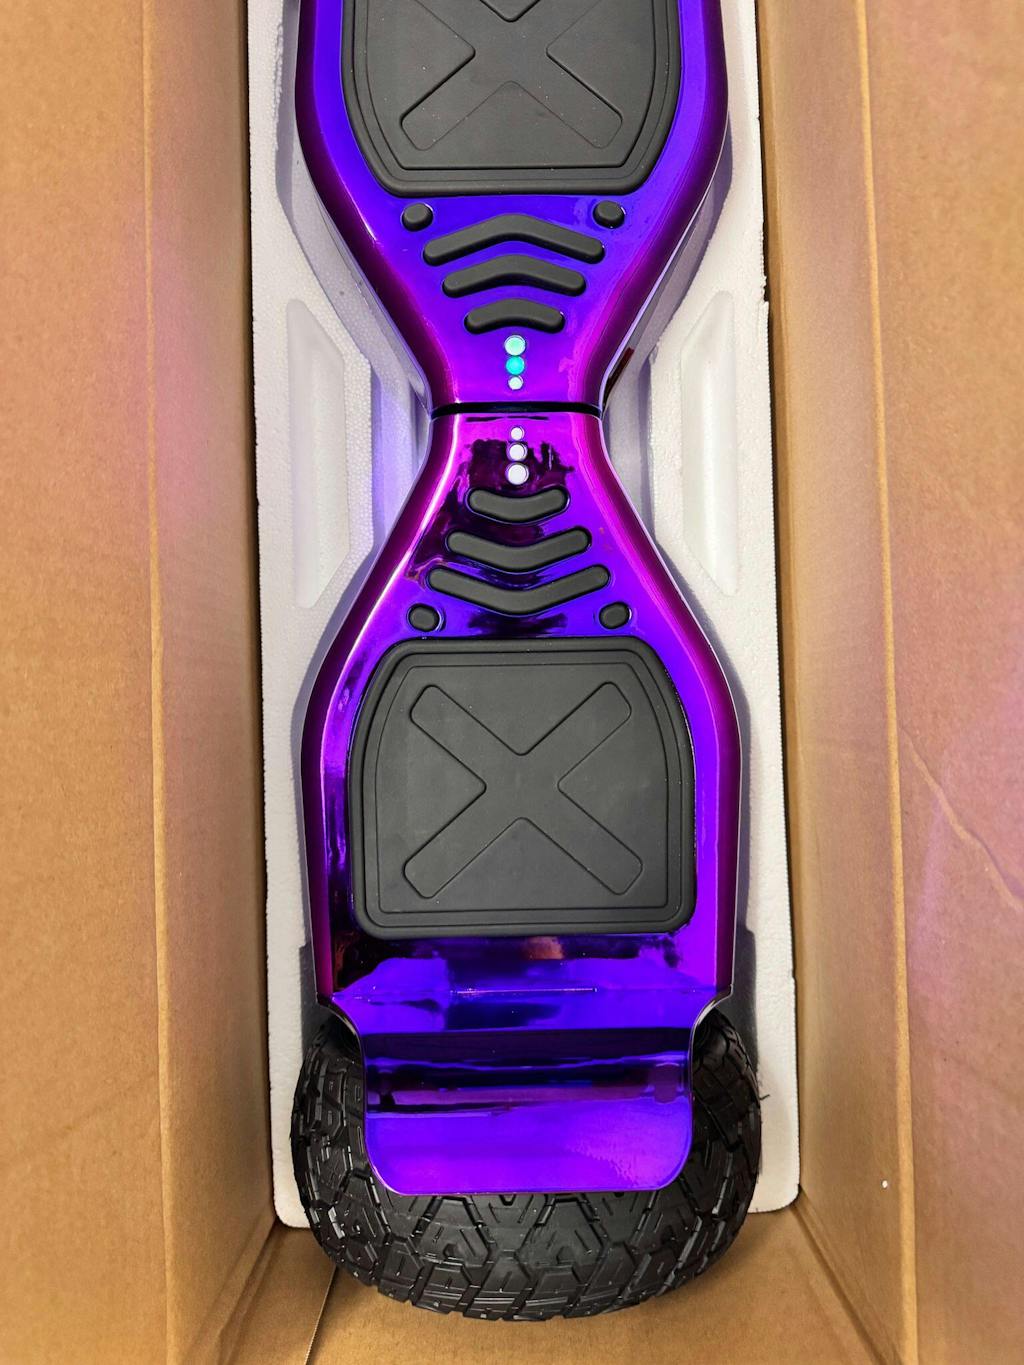
Step 1: Remove the Bottom Cover
Place your hoverboard upside down on a soft surface (blanket or towel) to avoid scratching. Locate the screws holding the bottom cover. Most hoverboards have 4-6 screws. Remove all screws carefully and set them aside in a safe place. Gently pry the bottom cover off using a plastic pry tool. Be careful not to damage the plastic or internal components.
Step 2: Locate the Battery
Once the bottom cover is removed, you'll see the internal components. The battery is typically a large rectangular component with wires attached. It's usually located in the center of the hoverboard. Take a photo of the battery and its connections before proceeding—this will help you reconnect everything correctly.
Step 3: Disconnect the Battery
Locate the battery connectors (usually red and black wires or connectors). Gently disconnect the battery from the main board. Some batteries have connectors that simply pull apart; others may have small clips that need to be pressed to release. Be very gentle—forcing connectors can damage them permanently.
Step 4: Remove the Old Battery
Most batteries are held in place with velcro strips or screws. If velcro, gently peel the battery away. If screws, remove them carefully. Lift the old battery out slowly and set it aside. Be careful not to damage any wires or components underneath.
Step 5: Install the New Battery
Place the new battery in the same location as the old one. Ensure it's positioned correctly and doesn't interfere with other components. If the old battery was held with velcro, apply new velcro strips to the new battery. If screws, reinstall them securely but not too tightly.
Step 6: Reconnect the Battery
Carefully reconnect the battery connectors to the main board. Match the colors: red to red, black to black. Push connectors firmly until they click or seat completely. Verify connections are secure before proceeding.
Step 7: Reassemble the Hoverboard
Place the bottom cover back on the hoverboard. Align all screw holes carefully. Reinstall all screws and tighten them securely but not excessively. Flip the hoverboard right-side up and inspect for any loose components or damage.
Step 8: Test the New Battery
Charge the hoverboard fully (2-3 hours). Once charged, power it on and verify it works correctly. Test acceleration, braking, and steering. Take a short test ride to ensure everything functions properly. If any issues occur, power off immediately and check connections.
Battery Maintenance Tips
Charging Best Practices
Always use the supplied charger. Avoid overcharging—don't leave your hoverboard plugged in overnight. Charge in a cool, dry location. Avoid charging in extreme heat or cold. Charge regularly—don't let the battery fully discharge.
Storage Guidelines
Store your hoverboard in a cool, dry location. Avoid extreme temperatures (below 0°C or above 40°C). Store with a partial charge (40-60%), not fully charged or fully discharged. If storing for extended periods (over 1 month), charge to 50% every 2-3 weeks.
Usage Tips
Avoid riding in extreme heat or cold—this reduces battery efficiency. Avoid riding on very rough terrain—this stresses the battery. Avoid extreme acceleration or prolonged high-speed riding—this drains the battery faster. Ride at moderate speeds for longer battery life.
Recycling Your Old Battery
Never throw lithium-ion batteries in the trash. They're hazardous and can cause fires in landfills. Most retailers offer battery recycling programs. Contact your local waste management facility for recycling options. Some retailers offer mail-in recycling programs for old batteries.
Frequently Asked Questions
A: Most hoverboard batteries last 2-3 years with regular use. This equals 500-1000 charge cycles. After this time, degradation becomes noticeable.
A: Yes, most replacements take 20-30 minutes with basic tools. Follow the step-by-step guide carefully. If you're uncomfortable, contact a professional service center.
A: Replacement batteries cost £40-£120 depending on capacity. Budget £60-£90 for most models.
A: Damaged lithium-ion batteries are hazardous. Stop immediately and contact a professional. Never use a damaged battery.
A: Use only compatible batteries with matching voltage and capacity. Using incompatible batteries can damage your hoverboard or cause safety issues.
Related Guides
- Hoverboard Troubleshooting: Common Problems & Solutions
- Hoverboard for Kids UK: Age Guide (6-16)
- Hoverboard Go Kart: Complete Guide
Last Updated: 2026 | Author: Hoverboard Store | Warranty: 12 Months


